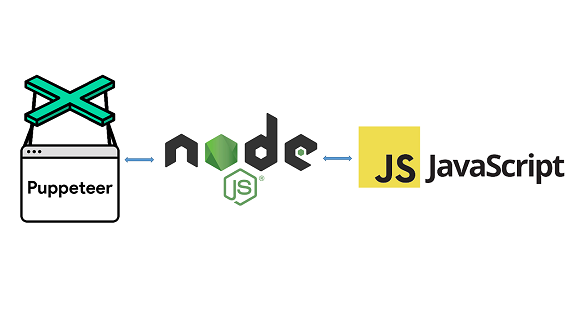
Test Automation using Puppeteer, NodeJS and Javascript
From a long time, I wanted to look into Puppeteer tool which is developed by the Chrome DevTools team. Unlike Selenium, Puppeteer can do browser actions.
From a long time, I wanted to look into Puppeteer tool which is developed by the Chrome DevTools team. Unlike Selenium, Puppeteer can do browser actions.
WHAT IS PUPPETEER?
Puppeteer is a Node library which provides a high-level API to control Chrome or Chromium over the DevTools Protocol. Puppeteer runs headless by default, but can be configured to run full (non-headless) Chrome or Chromium.
WHAT CAN BE DONE USING PUPPETEER?
Most of the operations that you can do manually in the browser can be done using Puppeteer! Here are a few examples to get you started:
- Generate screenshots and PDFs of pages.
- Automate form submission, UI testing, keyboard input, etc.
- Create an up-to-date, automated testing environment. Run your tests directly in the latest version of Chrome using the latest JavaScript and browser features.
- Capture a timeline trace of your site to help diagnose performance issues.
- Test Chrome Extensions.
- It is also widely used in Web Scraping
Let’s go through step by step process of creating automation framework using Puppeteer, NodeJS, and JavaScript. At the end of this tutorial, you will be having knowledge of setting up the framework from scratch. Follow below steps one by one, and if you know any step you can skip it and move to next:
Step 1) Install Node.JS
Step 2) Install Visual Studio Code or any other code editor you like
Step 3) Open Visual Studio Code
Step 4) Create a folder named puppeteer-nodejs-javascript
Step 5) Create a file named .gitignore and add below content
node_modules/
temp/
test-results/
downloads/*
log/*
Step 6) Create default package.json file named package.json
npm init --yesStep 7) Now go to your Project root directory which is puppeteer-nodejs-javascript and install dependency by running the command.
install --save puppeteer
Ignore any warning you see.
Step 8) Now install dev dependency by running the command
install --save-dev @types/node
Ignore any warning you see.
You package.json should look like:
{
  "name": "puppeteer-nodejs-javascript",
  "version": "1.0.0",
  "description": "This is Test Automation framework designed using Puppeteer, NodeJS and Javascript.",
  "homepage": "https://github.com/codewithmmak/puppeteer-nodejs-javascript",
  "main": "index.js",
  "dependencies": {
    "npm": "^8.12.2",
    "puppeteer": "^14.4.0"
  },
  "devDependencies": {
    "@types/node": "^10.17.60",
    "npm-check-updates": "^14.0.1"
  },
  "keywords": [
    "puppeteer",
    "javascript",
    "angular",
    "angularjs",
    "vscode",
    "testing",
    "selenium",
    "automation testing"
  ],
  "author": "Code with MMAK",
  "license": "MIT",
  "repository": {
    "type": "git",
    "url": "https://github.com/codewithmmak/puppeteer-nodejs-javascript.git"
  }
}
Step 9) Now create a folder named specs
Step 10) Create a file named getPageScreenshot.js and add below content
const puppeteer = require('puppeteer');

async function getPageScreenshot() {

    const browser = await puppeteer.launch();

    const page = await browser.newPage();

    await page.goto('https://scrapethissite.com/pages/forms/');
    await console.log('User navigated to site');

    await page.screenshot({
        path: './screenshots/HockeyTeams.png'
    });
    await console.log('Page screenshot taken');

    await browser.close();
    await console.log('Browser closed');

}

getPageScreenshot();
Step 11) Now to run the test open terminal and type below command
node spec/getPageScreenshot.js
Step 12) You will see this in terminal

CODE REPOSITORY
The sample framework is hosted on GitHub: puppeteer-nodejs-javascript
Have a suggestion or found a bug? Fork this project to help make this even better.
Star the repo and follow me to get latest updates
WHAT DO YOU THINK?
Did this work for you?
Could I have done something better?
Have I missed something?
Please share your thoughts using comments on this post. Also, let me know if there are particular things that you would enjoy reading further.
Cheers!