API Automation using Axios, Mocha, Chai and JavaScript
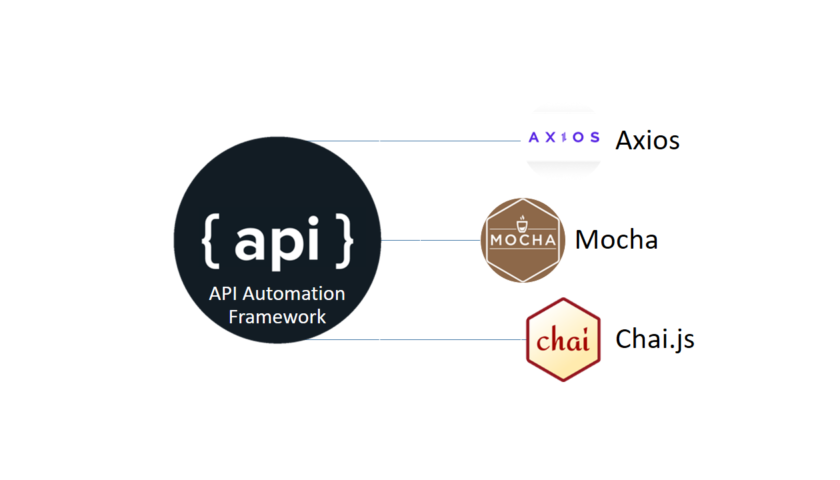
We will be using Axios for API automation, Mocha as a test automation framework and Chai for assertion. As JavaScript is popular these days so we will be using JavaScript for writing our tests. At the end of this tutorial, you will be having knowledge of setting up the framework from scratch.

We will be using Axios for API automation, Mocha as a test automation framework and Chai for assertion. As JavaScript is popular these days so we will be using JavaScript for writing our tests. At the end of this tutorial, you will be having knowledge of setting up the framework from scratch. Follow the below steps one by one, and if you know any step then you can skip it and move to the next.
What is Axios?
Axios is a promise-based HTTP Client for node.js and the browser. It is isomorphic (= it can run in the browser and nodejs with the same codebase). On the server-side, it uses the native node.js http module, while on the client (browser) it uses XMLHttpRequests.
Prerequisites
Step 1) Install Node.JS
Step 2) Install Visual Studio Code (this will help you write formatted code but you can pick any text editor of your choice)
Step 3) Open Visual Studio Code
Step 4) Open your integrated Terminal and run the following command
mkdir api-testing-axios-mocha-chai-javascriptStep 4) Open the directory
cd api-testing-axios-mocha-chai-javascriptStep 5) Create a new package.json file
npm init -yYour package.json file should be like this:
{
  "name": "api-testing-axios-mocha-chai-javascript",
  "version": "1.0.0",
  "description": "",
  "main": "index.js",
  "scripts": {
    "test": "echo \"Error: no test specified\" && exit 1"
  },
  "keywords": [],
  "author": "",
  "license": "ISC"
}
Step 6) Install all the required packages
npm install --save axios mocha chai mochawesome rimraf @faker-js/faker properties-readerYour package.json file should look like this:
{
  "name": "api-testing-axios-mocha-chai-javascript",
  "version": "1.0.0",
  "description": "",
  "main": "index.js",
  "scripts": {
    "test": "echo \"Error: no test specified\" && exit 1"
  },
  "keywords": [],
  "author": "",
  "license": "ISC",
  "dependencies": {
    "@faker-js/faker": "^7.3.0",
    "axios": "^0.27.2",
    "chai": "^4.3.6",
    "mocha": "^10.0.0",
    "mochawesome": "^7.1.3",
    "rimraf": "^3.0.2"
  }
}
Step 7) Create a .gitignore file so that unwanted files are not committed to the repository
node_modules/
test-results/
downloads/*
log/*
Create api tests
Now let’s create a test directory where we will be keeping our api tests
mkdir api-testsCalling a simple GET API
Create a file named get_request.js and write the following code:
const axios = require("axios");
const { expect } = require("chai");

describe("GET API Request Tests", async () => {
    it("should be able get user list", async () => {
        const res = await axios.get('https://reqres.in/api/users?page=2');
        console.log(res.data);
        expect(res.data.page).equal(2);
        expect(res.data.per_page).equal(6);
    })
})
Here ‘describe’ means test scenario and ‘it’ means individual test cases
Let’s run the test:
npx mocha ./api-tests/get_request.js --timeout=30000;Calling POST API
Create a file named post_request.js and write the following code:
const axios = require("axios");
const { expect } = require("chai");
const { faker } = require("@faker-js/faker");

describe("POST API Request Tests", async () => {
    it("should be able post a user", async () => {
        const randomName = faker.name.findName();
        const randomJobTitle = faker.name.jobTitle();
        const res = await axios.post('https://reqres.in/api/users',
            {
                "name": randomName,
                "job": randomJobTitle
            }
        ).then(res => res.data)
        console.log(res);
        expect(res.name).equal(randomName);
        expect(res.job).equal(randomJobTitle);
    })
})
Calling PUT API
Create a file named put_request.js and write the following code:
const axios = require("axios");
const { expect } = require("chai");
const { faker } = require("@faker-js/faker");

describe("PUT API Request Tests", async () => {
    it("should be able update a user", async () => {
        const randomName = faker.name.findName();
        const randomJobTitle = faker.name.jobTitle();
        const res = await axios.put('https://reqres.in/api/users/2',
            {
                "name": randomName,
                "job": randomJobTitle
            }
        ).then(res => res.data)
        console.log(res);
        expect(res.name).equal(randomName);
        expect(res.job).equal(randomJobTitle);
    })
})
Calling PATCH API
Create a file named patch_request.js and write the following code:
const axios = require("axios");
const { expect } = require("chai");
const { faker } = require("@faker-js/faker");

describe("PATCH API Request Tests", async () => {
    it("should be able update name of the user", async () => {
        const randomName = faker.name.findName();
        const randomJobTitle = faker.name.jobTitle();
        const res = await axios.patch('https://reqres.in/api/users/2',
            {
                "name": randomName
            }
        ).then(res => res.data)
        console.log(res);
        expect(res.name).equal(randomName);
    })
})
Calling DELETE API
Create a file named delete_request.js and write the following code:
const axios = require("axios");
const { expect } = require("chai");

describe("DELETE API Request Tests", async () => {
    it("should be able delete user with id 2", async () => {
        const res = await axios.delete('https://reqres.in/api/users/2');
        console.log(res.data);
        expect(res.status).equal(204);
    })
})
Some Tips
- If you want to run a single test then use ‘it.only’. Similarly, if you want to run a single test scenario then use ‘describe.only’.
- If you want to skip any test in a test suite then use ‘it.skip’. Similarly, if you want to skip the test scenario then use ‘describe.skip.
Write data to JSON file
Sometimes there is a need to write data to a JSON while so that it can be later used. Lets create a file named write_data_to_json.js and write the following code:
const axios = require("axios");
const { expect } = require("chai");
const { faker } = require("@faker-js/faker");
const fs = require("fs");
const postResData = require("../response-data/post_response_data.json");

describe("Write Data Tests", async () => {
    it("should be able write data to JSON", async () => {
        const randomName = faker.name.findName();
        const randomJobTitle = faker.name.jobTitle();
        const res = await axios.post('https://reqres.in/api/users',
            {
                "name": randomName,
                "job": randomJobTitle
            }
        ).then(res => res.data)
        console.log(res);
        expect(res.name).equal(randomName);
        expect(res.job).equal(randomJobTitle);

        postResData.name = res.name; // get and set the token to env variable
        postResData.job = res.job;
        postResData.id = res.id;
        postResData.createdAt = res.createdAt;
        fs.writeFileSync("./response-data/post_response_data.json", JSON.stringify(postResData)); // write the post response data to the post_response_data.json file

    })
})
Read properties file
Usually, properties files are used to store environment information as well as setting related to users or the environment etc.
Create a create folder config and inside that create a file name env.properties. Add the following in the env.properties file:
baseUrl=https://reqres.in/apiCreate file name baseUrl_from_property.js and add the following code:
var PropertiesReader = require('properties-reader');
var properties = PropertiesReader('config/env.properties');

const axios = require("axios");
const { expect } = require("chai");

describe("Base URL from Property File Tests", async () => {
    it("should be able get baseUrl from property file", async () => {
        console.log(properties.get("baseUrl"));
        const res = await axios.get(properties.get("baseUrl") + '/users');
        console.log(res.data);
        expect(res.status).equal(200);
        expect(res.data.page).equal(1);
        expect(res.data.per_page).equal(6);
    })
})
Generating HTML report
Run the command:
npx mocha ./api-tests/baseUrl_from_property.js --timeout=30000 --reporter mochawesome
It will generate the JSON and HTML report under mochawesome-report


CODE REPOSITORY
The sample framework is hosted on GitHub: api-testing-axios-mocha-chai-javascript
Have a suggestion or found a bug? Fork this project to help make this even better.
Star the repo and follow me to get latest updates
WHAT DO YOU THINK?
Did this work for you?
Could I have done something better?
Have I missed something?
Please share your thoughts using comments on this post. Also, let me know if there are particular things that you would enjoy reading further.
Cheers!


